
Professional Gutter Services in Texas & Oklahoma
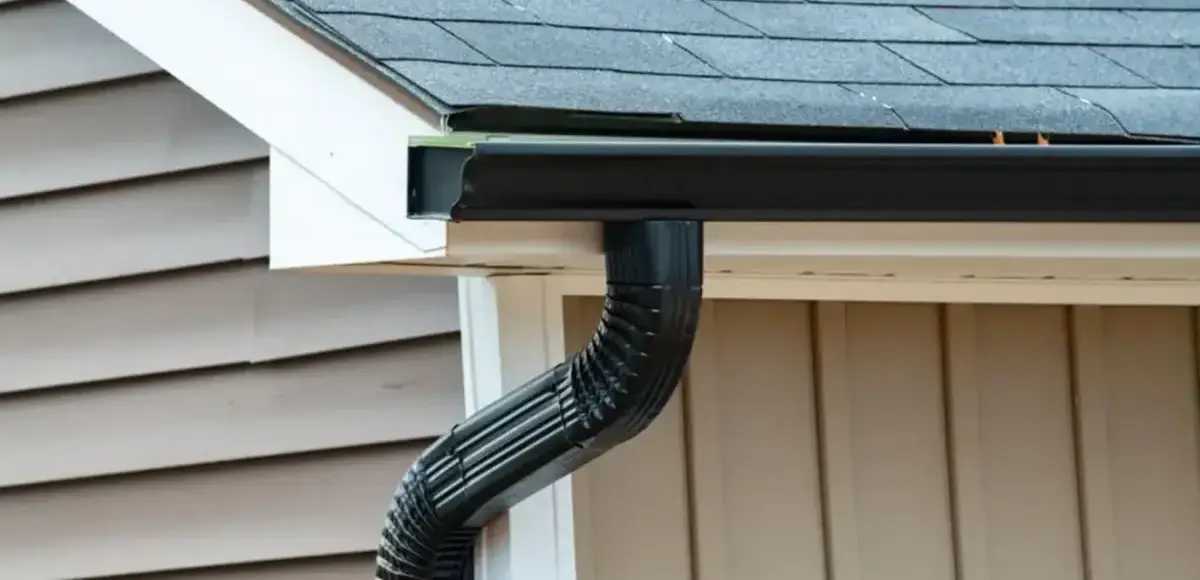
Your gutter system is one of the most important components protecting your home or commercial building from water damage. At The Roof Guys, we provide comprehensive gutter services including gutter repair, seamless gutter installation, gutter replacement, and gutter guards for properties across Texas and Oklahoma.
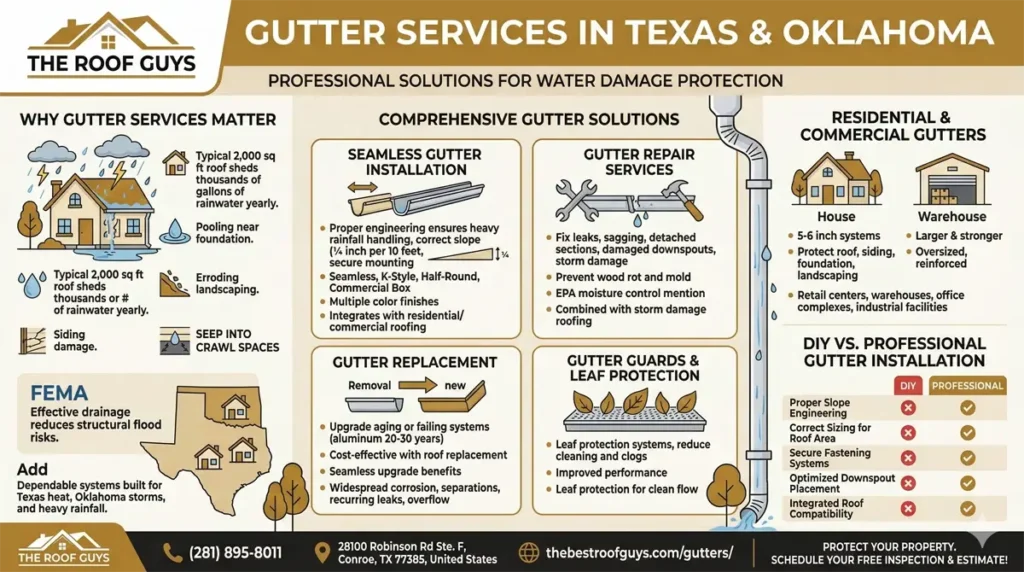
Every year, a typical 2,000-square-foot roof can shed thousands of gallons of rainwater during heavy storms. Without properly installed roof gutters and downspouts, that water can pool around your foundation, damage siding, erode landscaping, and even seep into crawl spaces. According to the Federal Emergency Management Agency (FEMA), effective drainage plays a critical role in reducing structural flood risks.
If you’re searching for dependable gutter services near me, The Roof Guys provide long-lasting gutter systems built specifically for Texas heat, Oklahoma storms, and heavy rainfall events.
Complete Gutter Services for Long-Term Protection
Your gutter system works together with your roofing system to safely direct rainwater away from the structure. When designed and installed correctly, gutters protect the entire building envelope and prevent moisture damage.
Properly functioning gutters help:
- protect fascia boards and roof edges
- prevent soil erosion near foundations
- reduce moisture intrusion that can lead to mold
- protect siding and exterior finishes
- maintain structural integrity of the building
Our professional gutter services include:
- Gutter installation for new construction or exterior upgrades
- Gutter repair for leaks, sagging, and storm damage
- Gutter replacement for aging or failing systems
- Gutter guards and leaf protection systems for improved performance
Our gutter services are often completed alongside Residential Roofing, Roof Repair, and full Roof Replacement projects to ensure total exterior protection.








Types of Gutters We Install
Seamless gutters are custom-formed on-site using continuous aluminum sections. Because they eliminate most joints, they significantly reduce the risk of leaks and require less long-term maintenance.
K-style gutters are the most commonly installed residential gutters. Their shape allows them to hold more water than traditional rounded systems, making them ideal for homes in areas with heavy rainfall.
Half-round gutters are often selected for historic homes or custom architectural styles. While visually appealing, they are also effective for moderate water flow management.
Box gutters are designed for large commercial roof surfaces such as warehouses, retail centers, and office buildings where runoff volumes are significantly higher.
Gutter Installation
Professional gutter installation ensures your drainage system is designed to handle heavy rainfall and storm runoff common across Texas and Oklahoma.
Proper installation requires:
- correct gutter slope (typically ¼ inch per 10 feet)
- secure mounting to fascia boards
- strategic downspout placement
- gutter sizing based on roof surface area
A poorly installed gutter system can lead to overflow during storms and accelerated structural damage.
Gutter Repair
Small gutter problems can quickly escalate into major structural issues if left unresolved. Because gutters handle thousands of gallons of water each year, even minor failures can lead to water damage.
Our professional gutter repair services address common issues such as:
- Leaking Joints and Seams: Leaks at gutter seams can allow water to run behind fascia boards and siding. Repairing these joints helps prevent wood rot and structural deterioration.
- Improper Gutter Slope: Incorrect gutter slope causes water to pool inside the system instead of flowing toward downspouts. This standing water accelerates corrosion and can lead to overflow.
- Detached or Sagging Gutters: Heavy rainfall, debris buildup, or storm damage can cause gutters to pull away from the fascia. We reinforce mounting hardware and restore structural stability.
- Cracked or Damaged Downspouts: Downspouts direct water safely away from foundations. Cracks or blockages can lead to improper drainage and soil erosion.
- Storm-Related Damage: Texas and Oklahoma frequently experience severe weather including hailstorms and high winds. Gutter damage is often repaired alongside Storm Damage Roofing Services and Hail Damage Roof Repair.
The U.S. Environmental Protection Agency (EPA) identifies moisture control as a key factor in protecting building materials and preventing mold development.
Gutter Replacement
While many aluminum gutter systems can last 20–30 years, aging systems may eventually require full replacement.
Signs that replacement may be necessary include:
- widespread corrosion or rust
- gutters separating from fascia boards
- frequent leaks or patch repairs
- recurring overflow problems during storms
Upgrading to seamless gutter systems reduces joint failures and improves long-term performance. If you are planning a Roof Inspection, roof replacement, or exterior renovation, replacing outdated gutters at the same time can be the most cost-effective solution.
Signs You Need Gutter Repair or Replacement
Knowing when to act can prevent costly foundation and roof damage. Below are common warning signs and what they typically indicate.
Warning Sign | What It Means | Recommended Service |
Water pooling near foundation | Improper drainage or clogged gutters | Gutter inspection & repair |
Sagging or pulling away | Fastener failure or structural weakening | Re-securing or partial replacement |
Frequent clogs | Debris buildup or undersized system | Gutter guard installation |
Rust or corrosion | Aging materials breaking down | Section or full replacement |
Leaks at seams | Joint separation or seal failure | Seam repair or seamless upgrade |
If you notice these issues, combining gutter evaluation with Roof Leak Detection ensures your entire water-shedding system is functioning properly.
Residential & Commercial Gutter Services
Residential Gutters
Most residential properties use 5–6 inch gutter systems designed to handle typical rainfall volumes.
Properly installed residential gutters protect:
- roofing materials
- siding and exterior walls
- building foundations
- landscaping and soil stability
We frequently install gutters alongside Emergency Roofing services and roof replacement projects to ensure long-term exterior protection.
Commercial Gutter Systems
Commercial buildings often require larger and stronger gutter systems due to increased roof size and runoff volumes.
Commercial gutter systems are commonly installed for:
- retail centers
- warehouses
- office complexes
- multi-family properties
- industrial facilities
These systems often include oversized gutters, reinforced hangers, and high-capacity downspouts. Our commercial gutter services often integrate with commercial roofing systems, flat roof systems, and TPO roofing systems to ensure effective water management across the entire building envelope.
Why Choose The Roof Guys
Property owners across Texas and Oklahoma trust The Roof Guys for dependable gutter installation, repair, and replacement services designed to protect homes and commercial buildings from heavy rainfall and storm runoff. Our experienced team installs high-quality seamless gutter systems, durable downspouts, and gutter protection solutions engineered to handle the region’s intense weather conditions.
- Experienced Exterior Specialists: Our team understands how gutters integrate with roofing systems, fascia boards, and drainage design, ensuring your entire water management system works efficiently.
- Built for Texas & Oklahoma Weather: We install gutter systems designed to manage heavy rain, strong storms, and rapid water runoff common throughout the region.
- High-Quality Seamless Gutter Installation: Custom-fabricated seamless gutters reduce leak points, improve durability, and provide long-lasting performance.
- Complete Drainage Solutions: From gutter repairs and replacements to downspout installation and gutter guards, we provide full-service solutions that protect your roof, siding, and foundation.
- Transparent Inspections & Estimates: Our team provides clear evaluations and honest recommendations so you can make the best decision for protecting your property.
With professional installation and reliable service, The Roof Guys help ensure your gutter system performs properly and protects your property year-round. View our completed roofing projects in our project gallery and read real customer feedback on our testimonials page and Google Business Profile.
Areas We Serve
Licensed Commercial & Residential Roofing Contractor
The Roof Guys – quality materials, expert service, and lasting protection guaranteed.
Benefits of Professional Gutter Installation
Professional gutter services provide measurable long-term protection. Improper DIY installation can lead to incorrect slope, weak attachment points, and drainage inefficiencies.
Benefit | Why It Matters |
Proper Slope Engineering | Ensures efficient water movement toward downspouts |
Correct Sizing for Roof Area | Prevents overflow during heavy rainfall |
Secure Fastening Systems | Reduces risk of detachment during storms |
Optimized Downspout Placement | Protects foundation and landscaping |
Integrated Roof Compatibility | Supports long-term roof performance |
Pairing new gutters with Roof Maintenance services and exterior upgrades like Siding provides complete system protection.
What Our Clients Are Saying
We believe the best proof of our service comes directly from the homeowners, businesses, and property managers we proudly serve.
Protect Your Property with Professional Gutter Services in Texas & Oklahoma
Don’t let poor drainage put your home or commercial building at risk. The Roof Guys provide expert gutter installation, seamless gutter replacement, gutter repair, and gutter guard solutions designed to handle the heavy rain, storms, and runoff common across Texas and Oklahoma. Our experienced team installs durable gutter systems that efficiently direct water away from your roof, siding, and foundation to prevent costly structural damage.
Call The Roof Guys today at (281) 895-8011 to schedule your free gutter inspection and estimate, and ensure your property is protected with a high-performance gutter system built to last.
The Roof Guys
Business Hours
Monday: Open 24 hours
Tuesday: Open 24 hours
Wednesday: Open 24 hours
Thursday: Open 24 hours
Friday: Open 24 hours
Saturday: Open 24 hours
Sunday: Open 24 hours
Frequently Asked Questions
Common signs include sagging gutters, leaks at seams, rust, overflowing water during storms, or water pooling near your foundation. If you notice these issues, it’s best to schedule a professional gutter inspection with The Roof Guys to determine whether repair or full replacement is the best solution.
Most aluminum gutter systems last 20–30 years with proper maintenance. However, extreme heat, storms, and debris buildup common in Texas and Oklahoma can shorten lifespan if gutters are not cleaned and inspected regularly.
Yes. Seamless gutters are custom-fabricated in continuous sections, which significantly reduces the number of joints where leaks can occur. This makes them more durable and lower maintenance compared to sectional gutter systems.
Most properties should have gutters cleaned at least twice per year, typically in spring and fall. Homes near trees or areas with frequent storms may require more frequent cleaning to prevent debris buildup and drainage blockages.
Yes. When gutters become clogged, water can overflow and back up under roofing materials or pool around the foundation. Over time, this can lead to roof leaks, siding damage, foundation erosion, and moisture intrusion.
Most residential homes use 5-inch or 6-inch gutters, depending on roof size and rainfall volume. Larger gutters and additional downspouts may be recommended for properties with larger roof surfaces or areas that experience heavy storms.
Gutter guards can significantly reduce debris buildup from leaves and branches. They help maintain consistent water flow, reduce maintenance frequency, and improve gutter performance during heavy rainfall.
Yes. Commercial properties typically require larger-capacity gutter systems, such as box gutters or oversized downspouts, to handle greater runoff from large roof surfaces like warehouses, office buildings, and retail centers.
How Can We Help?



Our Roofing Services
Why Choose The Roof Guys
Property owners across Texas and Oklahoma trust The Roof Guys for dependable gutter installation, repair, and replacement services designed to protect homes and commercial buildings from heavy rainfall and storm runoff. Our experienced team installs high-quality seamless gutter systems, durable downspouts, and gutter protection solutions engineered to handle the region’s intense weather conditions.
- Experienced Exterior Specialists: Our team understands how gutters integrate with roofing systems, fascia boards, and drainage design, ensuring your entire water management system works efficiently.
- Built for Texas & Oklahoma Weather: We install gutter systems designed to manage heavy rain, strong storms, and rapid water runoff common throughout the region.
- High-Quality Seamless Gutter Installation: Custom-fabricated seamless gutters reduce leak points, improve durability, and provide long-lasting performance.
- Complete Drainage Solutions: From gutter repairs and replacements to downspout installation and gutter guards, we provide full-service solutions that protect your roof, siding, and foundation.
- Transparent Inspections & Estimates: Our team provides clear evaluations and honest recommendations so you can make the best decision for protecting your property.
With professional installation and reliable service, The Roof Guys help ensure your gutter system performs properly and protects your property year-round. View our completed roofing projects in our project gallery and read real customer feedback on our testimonials page and Google Business Profile.
The Roof Guys
Business Hours
Monday: Open 24 hours
Tuesday: Open 24 hours
Wednesday: Open 24 hours
Thursday: Open 24 hours
Friday: Open 24 hours
Saturday: Open 24 hours
Sunday: Open 24 hours

Get Started
Have questions about your roof? Ready to start your next roofing project? Whether you’re dealing with storm damage, a leaky roof, or planning a complete roof replacement, our team is here to help.
How Can We Help?