Introduction
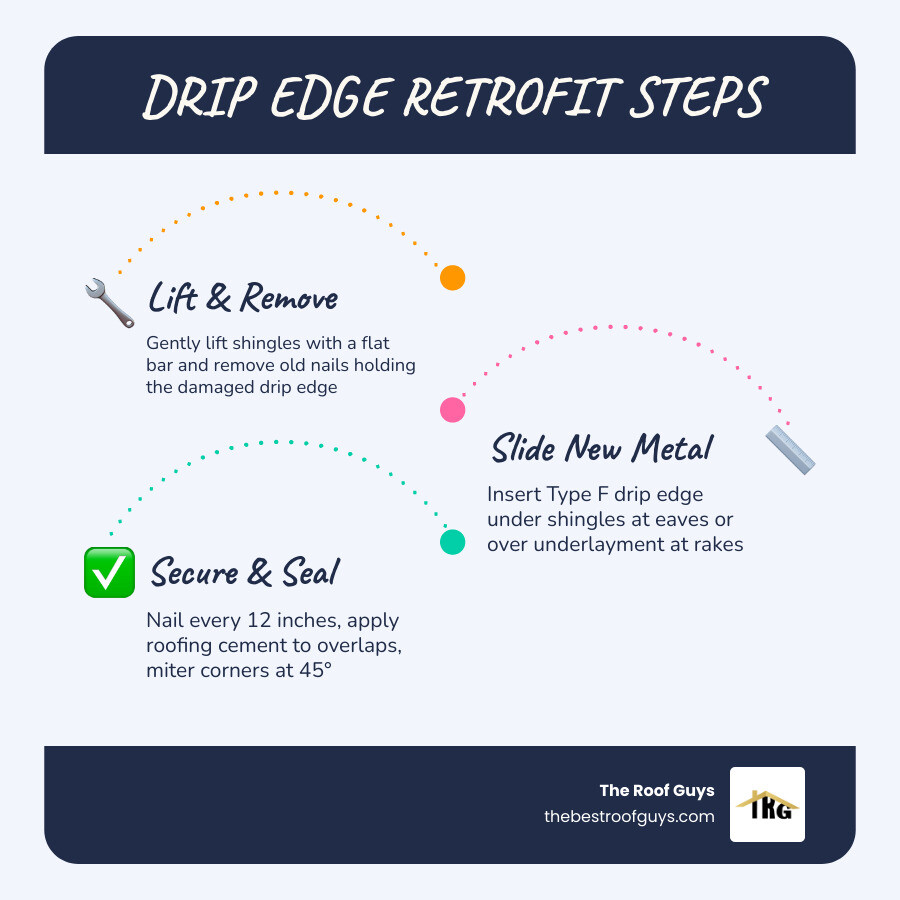
Deciding to replace drip edge is one of the most overlooked — and most important — maintenance tasks a homeowner can do to protect their roof. Here’s a quick overview of what the process involves:
How to replace drip edge (quick summary):
- Gently lift the first course of shingles with a flat pry bar
- Remove old nails and slide out the damaged drip edge
- Slide a new Type F drip edge under the shingles at eaves (or over underlayment at rakes)
- Nail every 12 inches and seal overlaps with roofing cement
- Miter corners at 45 degrees and seal all joints
Most homeowners don’t think about drip edge until water is already dripping behind their gutters — or worse, until they discover rotted fascia boards. As a trusted roofing contractor in Texas and Oklahoma, we know that by then, a simple $300–$600 fix has quietly turned into a $1,000–$2,000+ repair bill.
Drip edge is a metal strip installed along your roof’s edges. Its job is simple but critical: direct water off the roof and into the gutter, not behind it. Without it, water uses capillary action to wick under your shingles and soak into the wood beneath.
In Texas and Oklahoma, where hail, high winds, and heavy storms are a regular part of life, a missing or damaged drip edge isn’t a minor cosmetic issue — it’s a structural vulnerability. Over 70% of homes built before 2012 were found to have missing or improper drip edge during re-roofing inspections. If your home falls into that category, addressing this now can prevent far more expensive roof damage repairs down the road.
I’m Cash Walker, a leadership team member at The Roof Guys — a Greater Houston roofing company with over 30 years of experience helping Texas homeowners replace drip edge and protect their roofs from the ground up. In that time, I’ve seen how skipping this one small detail leads to some of the most expensive edge-related water damage calls we respond to.
Simple guide to replace drip edge:
Maintaining the structural integrity of your home starts at the roof’s perimeter, where the right flashing prevents catastrophic wood rot. In May 2026, homeowners are increasingly looking to replace drip edge systems to meet updated building codes and protect their investment from intensifying storm seasons. Whether you are dealing with rusted metal or preparing for a seamless roof installation, understanding the mechanics of edge flashing is vital. Drip edge is a specialized metal strip that creates a capillary break, ensuring water sheds into gutters rather than wicking behind the fascia or soaking into the roof deck. Failing to address damaged flashing can lead to expensive repairs, often costing ten times more than the initial installation.
Understanding Roof Drip Edge and Its Importance

Why Drip Edge is Necessary for Your Roof
A roof drip edge is a non-negotiable line of defense for your fascia, soffit, and roof deck. Its primary purpose is to act as a “capillary break.” Without this metal barrier, water surface tension causes rain to “curl” around the edge of the shingles, running directly down the wood fascia board or soaking into the edge of the plywood roof deck. Over time, this moisture leads to wood rot, mold, and structural failure.
According to technical research, Drip Edge Installation: Protect Roof Edges 2026 is essential for preventing ice dams in colder Oklahoma winters and managing the torrential downpours common in Conroe and Houston. It also serves as a pest deterrent, sealing the small gap between the roof deck and the fascia board where wasps, rodents, and other pests often attempt to enter your attic.
The Role of Drip Edge in Gutter Efficiency
If you have gutters, the drip edge is what makes them work. The vertical flange of the drip edge should extend into the gutter channel. This ensures water follows a “waterfall” path into the gutter rather than slipping behind it. When water gets behind the gutter, it rots the fascia board until the gutter spikes lose their grip and the entire system pulls away from the house. This synergy is vital for preventing roof damage and protecting your home’s foundation.
Choosing the Right Materials and Profiles to Replace Drip Edge
Choosing the right material and shape is the first step when you decide to replace drip edge. Using the wrong profile for a retrofit can result in a poor fit that actually traps water instead of shedding it.
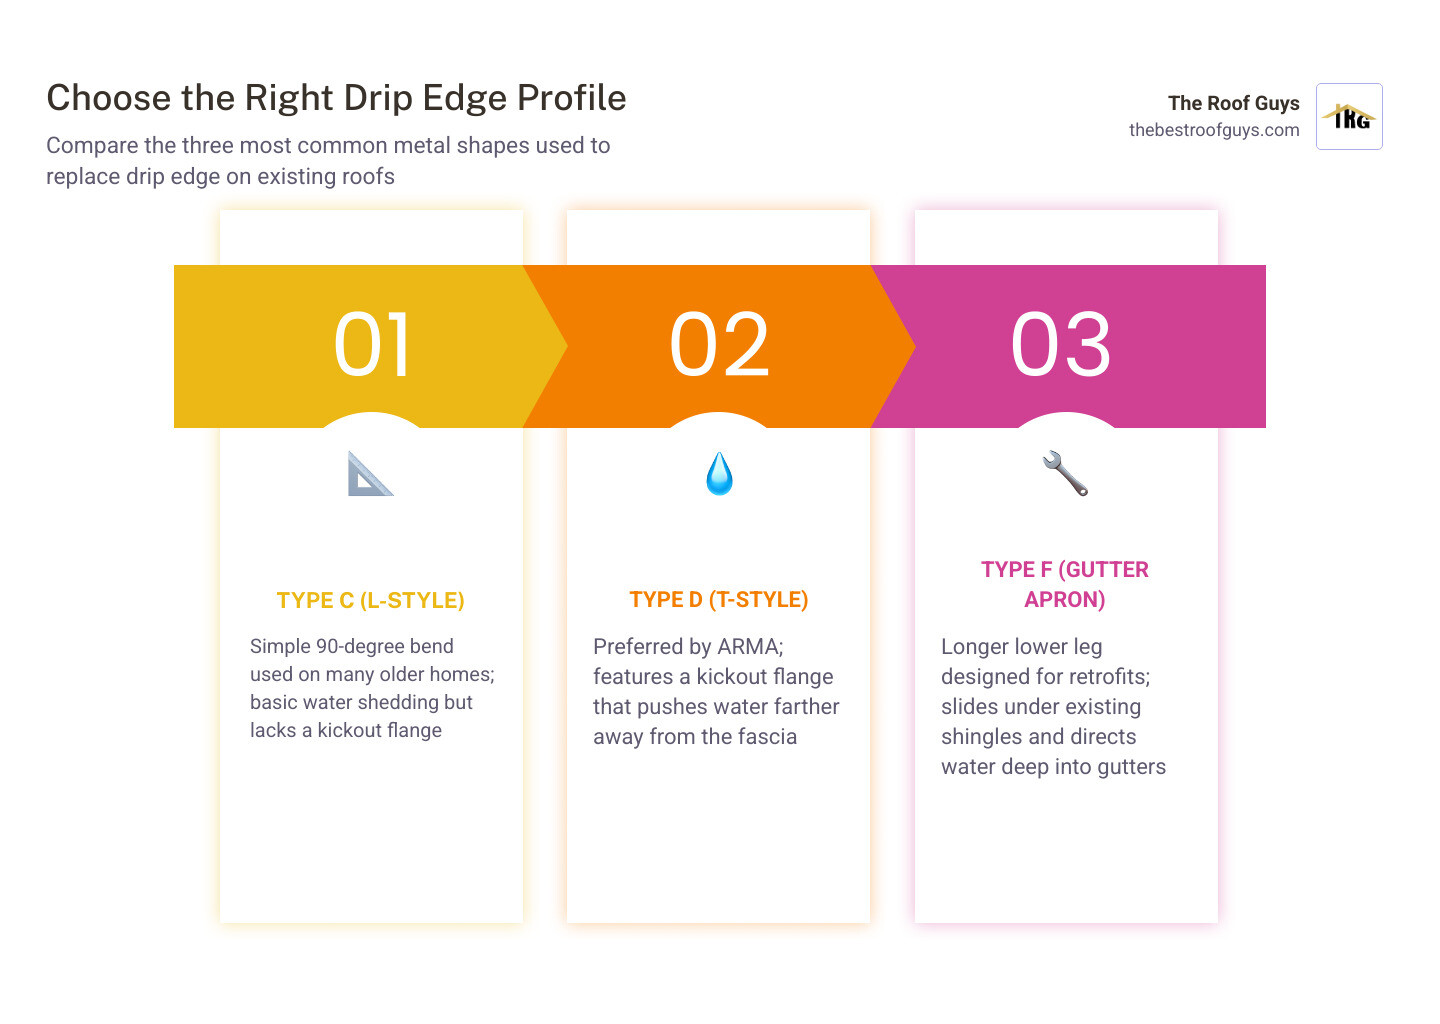
Common Drip Edge Profiles
- Type C (L-Style): This is a simple L-shaped metal bent at roughly 90 degrees. While common on older homes, it lacks the sophisticated water-shedding features of modern profiles.
- Type D (T-Style): Also known as “D-Metal,” this profile features a specialized “kickout” flange at the bottom. This flange pushes water further away from the house. The Asphalt Roofing Manufacturers Association (ARMA) prefers Type D over Type C because it offers superior water management.
- Type F (Gutter Apron): This profile has a longer leading edge and a flatter angle, making it the gold standard to replace drip edge during a retrofit. It slides easily under existing shingles and ensures water is directed deep into the gutter.
Material Selection for Longevity
- Aluminum: The most popular residential choice. It is rust-proof, easy to cut, and typically lasts 20-30 years, matching the lifespan of most asphalt shingles.
- Galvanized Steel: We recommend a minimum of 24-gauge or 26-gauge galvanized steel for high-wind areas like Oklahoma City or Tulsa. It is stiffer than aluminum and offers better resistance to wind uplift.
- Copper: The premium choice for historic homes in areas like Pasadena or The Woodlands. Copper drip edge can last 50-70 years but must be installed with compatible fasteners to avoid galvanic corrosion.
IRC Code Requirements and Installation Standards

Mandatory Code Specifications
Since the 2012 International Residential Code (IRC) update, specifically Section R905.2.8.5, drip edge is required on all new roofs and re-roofing projects. Most jurisdictions in Texas and Oklahoma follow these standards:
- Extension: The metal must extend a minimum of 2 inches onto the roof deck and at least 1/4 inch below the roof sheathing.
- Overlap: When joining two pieces, they must overlap by at least 2 inches (though 3 inches is considered best practice in high-rainfall areas).
- Fastening: Nails must be driven into the roof deck (never the fascia) at a maximum spacing of 12 inches.
Eaves vs. Rakes: The Correct Order
One of the most common roof installation mistakes is getting the layering wrong.
- At the Eaves (Horizontal edges): The drip edge goes under the underlayment (felt or synthetic). This ensures that if water gets past the shingles, it runs over the underlayment, onto the metal, and into the gutter.
- At the Rakes (Sloped gable edges): The drip edge goes over the underlayment. This prevents wind-driven rain from blowing under the edge of the underlayment and soaking the roof deck.
How to Replace Drip Edge on an Existing Roof: A Step-by-Step Retrofit
If your shingles are still in good shape but your flashing is rusted or missing, you can replace drip edge without a full roof tear-off. This is a delicate process that requires patience to avoid damaging the existing shingles.
Tools Needed to Replace Drip Edge on Existing Shingles
- Flat pry bar (to lift shingles and remove nails)
- Aviation snips or tin snips (for cutting metal)
- Hammer and galvanized roofing nails
- High-quality roofing sealant or cement
- Type F “Gutter Apron” drip edge
Step-by-Step Retrofit Process to Replace Drip Edge
- Loosen the Shingles: Carefully slide your flat bar under the first row of shingles to break the tar sealant strip. In May 2026, if you are working in the Texas heat, do this in the morning when the shingles are less prone to tearing.
- Locate and Remove Nails: Use the pry bar to find the nails holding the old drip edge. Gently pry them out. You may need to lift the second course of shingles slightly to reach the nail heads.
- Slide Out the Old Flashing: Once the nails are removed, slide the old metal out. Check the condition of the wood deck. If the wood is soft or rotted, a retrofit is not enough; you likely need a professional roof replacement.
- Install the New Metal: Slide the Type F drip edge into place. At the eaves, tuck it under the underlayment. At the rakes, place it over the underlayment.
- Fasten and Seal: Nail the flashing every 12 inches. Apply a small dab of roofing cement over each nail head and a bead of sealant along the top of the metal before pressing the shingles back down.
- Handle the Corners: For a watertight seal, miter the corners at 45 degrees. According to How to Replace a Drip Edge on an Existing Roof, you should overlap the rake edge over the eave edge at the corner and apply sealant between the layers.
Common Installation Mistakes and Cost Considerations
Avoiding Costly Errors
We frequently see homeowners and inexperienced contractors make the “Reversed Eave” mistake. If the drip edge is placed over the underlayment at the eaves, water travels under the metal and rots the roof deck from the inside out. Another critical error is failing to maintain a sufficient overlap; a gap of even half an inch between metal sections can allow water to penetrate the fascia.
Pricing and Value
The cost to replace drip edge varies significantly based on whether it is part of a new roof or a standalone retrofit.
- New Installation: Usually costs $1 to $3 per linear foot for materials and labor.
- Retrofit Work: Because it requires two people (one to lift shingles, one to install metal) and takes significantly more time, costs range from $5 to $9 per linear foot.
- Typical Project Cost: For a 2,000 sq. ft. home with 200 linear feet of edge, a new installation might cost $300–$600, whereas a professional retrofit will typically range from $1,000 to $1,800.
Frequently Asked Questions about Drip Edge
Can I replace drip edge without removing shingles?
Yes, you can replace drip edge on an existing roof. It is a labor-intensive process that involves prying up the starter course of shingles, removing the old fasteners, and sliding new Type F flashing into place. It is highly recommended to have a second person help lift the shingles to prevent them from cracking or tearing.
Is drip edge required by law in Texas and Oklahoma?
Yes. Both Texas and Oklahoma jurisdictions generally follow the International Residential Code (IRC). Since 2012, the IRC has mandated that drip edge be installed at both eaves and rakes on all asphalt shingle roofs. Even if your local municipality hasn’t strictly enforced it, missing drip edge can be a major red flag during a home inspection.
How long does aluminum drip edge last?
Aluminum drip edge is highly durable and typically lasts 20 to 30 years. This matches the standard lifespan of modern architectural shingles, meaning you should generally replace drip edge every time you replace your roof.
Should the gutter go under or over the drip edge?
The gutter should always go under (behind) the drip edge. If the gutter is installed over the drip edge, water will simply run behind the gutter, rotting your fascia and eventually causing the gutters to fall off the house.
Conclusion
Replacing your roof’s drip edge is a small investment that provides massive returns in home longevity. Whether you are performing a DIY retrofit or hiring a professional, ensuring the materials and installation sequence meet IRC standards is non-negotiable. For homeowners in Texas and Oklahoma, The Roof Guys offer expert edge flashing services as part of our ultra-fast turnaround and 10-year warranty commitment.
We serve communities across the region, from the bustling streets of Houston and Conroe to the growing neighborhoods of Tulsa and Oklahoma City. If you notice water dripping behind your gutters, see paint peeling from your fascia, or spot signs of wood rot, do not wait for the next storm to act. Improperly installed flashing is one of the most common causes of preventable water damage.
For professional assistance with your roofing needs, visit our roof replacement service page to schedule a comprehensive inspection today. We are here to ensure your roof is code-compliant, watertight, and ready for whatever the Texas and Oklahoma weather throws your way.